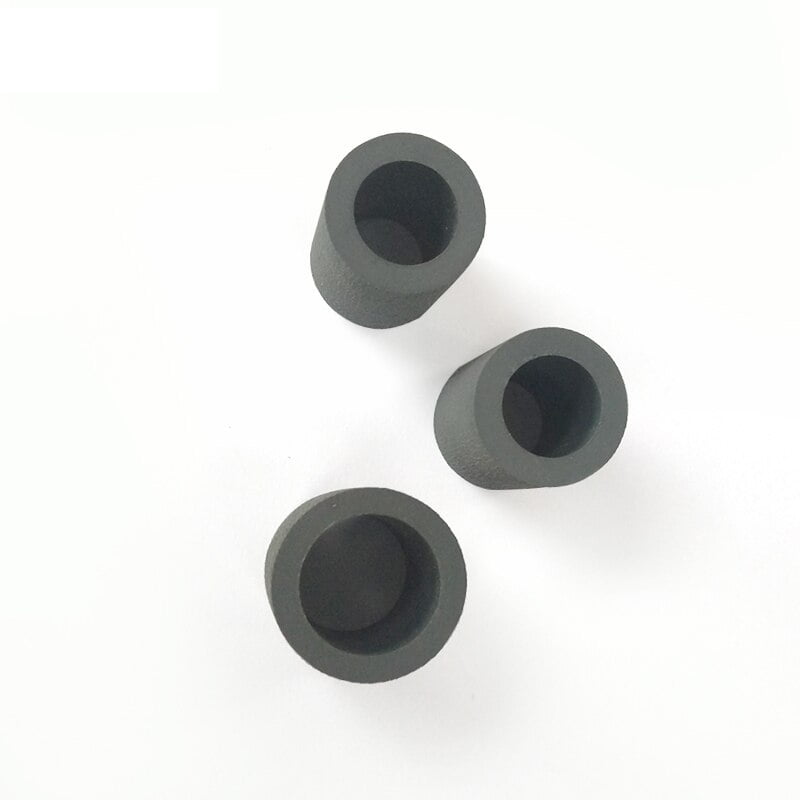
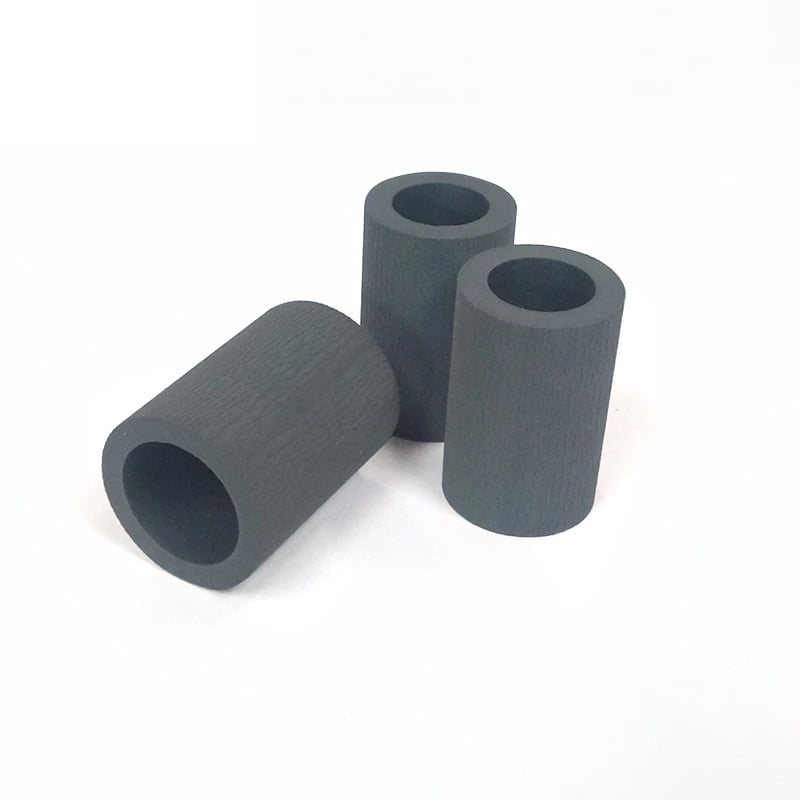
Changing the paper pickup roller rubber set in Paper Pickup Rubber Roller Set for Canon IR 3300 2800 2200 Printer is a normal maintenance task to stop paper jams and make sure smooth paper feeding. Over time, the rollers may wear out, leading to problems with paper pickup.
Here is a step-by-step manual to changing the paper pickup roller rubber set:
Turn Off and disconnect the Printer-
Power off the printer and unplug it from the power source. This makes sure safety while working on the machine.
Enter the Paper Pickup Rollers-
Relying on the model, you would either need to-
Take off the front cover to enter the internal parts, or take out the rear or top cover and disconnect the paper trays to get a better view of the pickup roller area.
Remove the Paper Tray(s)-Take out the paper tray completely to expose the bottom of the printer where the paper pickup rollers are located.
In some models, you may have multiple trays. Make sure you disconnect the one related to the tray where you’re facing paper feeding issues.
Find the Paper Pickup Rollers- The pickup rollers are usually found above the paper tray and are responsible for pulling the paper into the printer for printing.
There might be several rollers, depending on the model, including separation rollers and feed rollers.
Disconnect the Old Paper Pickup Rollers- You would likely need to release a clip or bold holding the roller in place. This might involve: Rotating the roller slightly to free it from its axle.
Some rollers might be fixed by screws, so you might have to use a screwdriver to disconnect them.
Softy pull the roller off the shaft.
Change the Rubber on the Rollers- Once the roller is disconnected, you can now exchange the rubber set on the roller.
Some rollers permit you to undo just the rubber portion and slip the new rubber over the roller frame.
Other models might need you to change the entire roller, which comes pre-fitted with the rubber.
Place the New Rollers:
Install the new or re-rubbered pickup roller onto the axle or shaft.
Fit it locks into place by rotating it slightly, or secure it with screws if required.
Position the roller correctly, ensuring the rubber side faces the paper path.
Reconnect the Paper Tray:
After you place the new rollers, slide the paper tray(s) back into the printer.
Shut All Covers:
Close any entry doors or covers you opened during the process.
Turn On the Printer- Connect the printer back into the power source and turn it on.
Check the Paper Pickup:
Put some paper into the tray and do a test print to verify that the new rollers are properly feeding paper into the printer.
We hope this information helps with your product build. For more details, feel free to check out our blogs. You’ll also find troubleshooting steps for PC issues, described in simple and easy-to-follow instructions, allowing anyone to fix the problems themselves. We also release troubleshooting newsletters, which provide additional guidance for resolving issues. We’re glad to be helping people with real solutions to their challenges.
Shop today and use your printer effortlessly.


Reviews
There are no reviews yet.