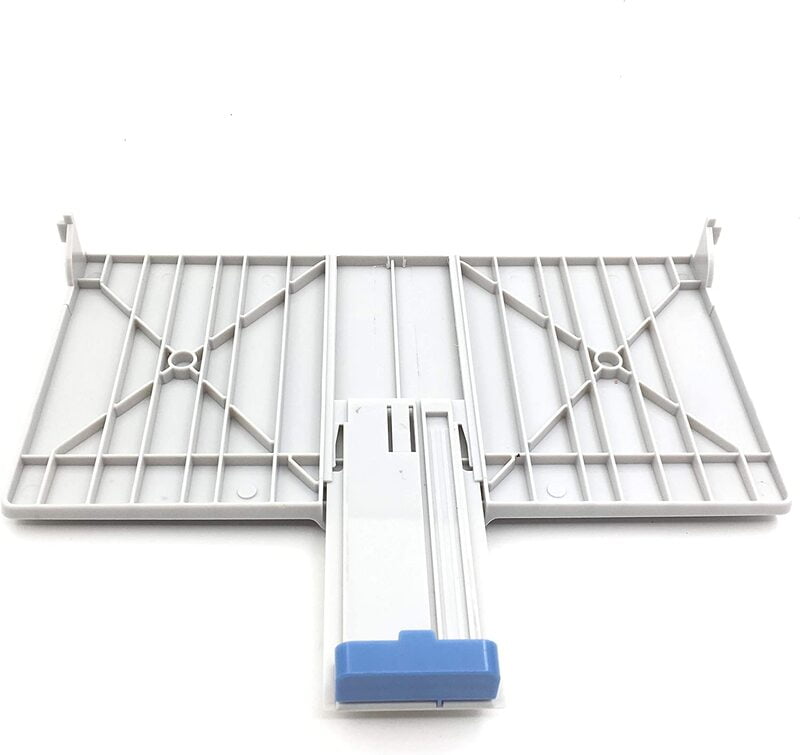
Changing the paper input tray on your HP LaserJet 1020 or 1018 printer (models RM1-0629 or RM1-2079) is a direct procedure. Follow these steps for a successful change.
Prepare your workspace: First, ensure the printer is switched off and unplugged to avoid any electrical issues. Find a clean, flat surface to work on.
Disconnect the Old Tray
Softly pull out the existing paper input tray from the printer.It should slide out easily; if you encounter resistance, check for any clips that may need to be released.
Unpack the New Tray
Take the new input tray out of its packaging. Place it for any ruin and take off any packing materials, making sure it’s ready for installation.
Put the New Tray
Line up the new tray with the guides in the printer. Mindfully move it into the printer until you hear a click, showing it’s securely in place. Ensure it aligned properly to avoid paper jams.
Turn On and Test to check if its working for you
Connect the printer back in and switch it on. Place paper into the new tray, adjusting the paper guides to fit the size of the paper you’re using.This assists with proper feeding.
Take a Test Print and enjoy effortless printing
To make sure everything is running correctly, take a test print. Check for any errors, such as paper jams.
We hope this information helps with your product build. For more details, feel free to check out our blogs. You’ll also find troubleshooting steps for PC issues, described in simple and easy-to-follow instructions, allowing anyone to fix the problems themselves. We also release troubleshooting newsletters, which provide additional guidance for resolving issues. We’re glad to be helping people with real solutions to their challenges.
Shop Paper Input Tray For HP LaserJet 1020 1018 Printer (RM1-0629, RM1-2079) today and use your printer effortlessly.


Reviews
There are no reviews yet.