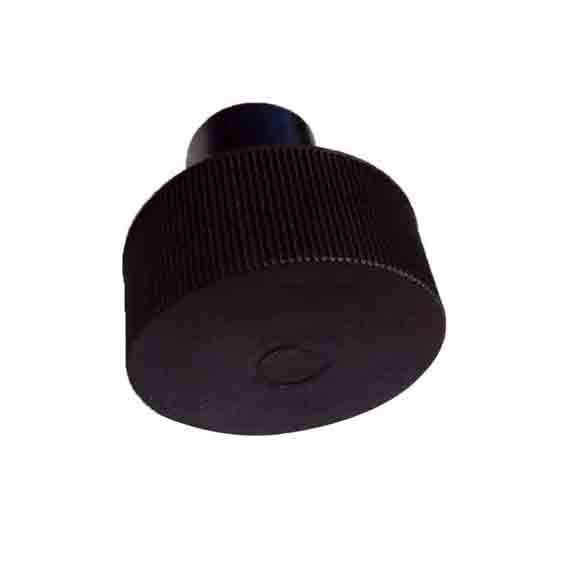
Changing the Knob on TVSE MSP 240, 245, and 250 Printers
Changing the knob on your TVSE MSP 240, 245, or 250 printer involves a few straightforward steps. Typically, the knob forms part of the control panel or serves for manual adjustments. Here’s a concise guide to help you replace it:
Turn Off and Unplug the Printer
First, turn off the printer completely and unplug it from the power source. This step is crucial for avoiding electrical hazards.
Take Off the Printer Cover
Next, depending on your model, remove screws or use a bar to uncover the top or front cover. Doing this allows access to the internal parts where the knob resides.
Find the Knob
Then, locate the knob that needs replacement. It may belong to the control panel or another section of the printer. Consequently, this step ensures you focus on the correct component.
Disconnect the Old Knob
If the Knob is Screwed On
First, use a screwdriver to remove any screws securing the knob. Afterward, gently pull the knob off its mount. As a result, this process makes it easier to handle the next steps.
If the Knob is Press-Fit
On the other hand, if the knob attaches with clips, cautiously pry it off using a flathead screwdriver or your fingers. Moreover, be careful not to damage the surrounding area.
Prepare the Replacement Knob
Next, inspect the replacement knob to confirm it matches the old one in size and design. This verification helps avoid installation issues. Thus, you can ensure compatibility.
Install the New Knob
If the Knob is Screwed On
Position the new knob in place and secure it with the screws you previously removed. Make sure it fits tightly; otherwise, it might loosen during operation.
If the Knob is Press-Fit
Alternatively, fit the new knob onto the mounting area and press it firmly until it sits comfortably. This ensures a secure installation and enhances overall functionality.
Reassemble the Printer for Knob For TVSE MSP Printer
Afterward, reconnect any parts you removed to access the knob. Ensure all screws fasten securely and no parts remain loose. Therefore, you maintain the integrity of the printer.
Close the Printer Cover
Replace the printer cover, making sure to reconnect any bars or screws properly. This step finalizes the reassembly process. Subsequently, this action protects the internal components.
Turn On the Printer and chck Knob For TVSE MSP 240 245 250 Printer
Reconnect the printer to the power source and turn it on. This step confirms the successful installation. If everything goes well, you should notice a smooth operation.
Check the New Knob For TVSE MSP 240 245 250 Printer
Test the new knob to ensure it functions correctly and that the printer operates as expected. If you notice any issues, revisit the installation process. In that case, retracing your steps might resolve the problem.
Consult the Manual related to Knob For TVSE MSP 240 245 250 Printer
Finally, refer to the printer’s service manual for specific instructions. This resource may provide additional guidance tailored to your model. Therefore, consulting it can clarify any uncertainties.
Handle with Care your new Knob For TVSE MSP 240 245 250 Printer
While replacing the knob, avoid damaging other components. Mindful handling can prevent unnecessary repairs. If you encounter difficulties or the printer doesn’t operate properly after replacement, double-check the installation. Ensure all parts assemble correctly for optimal performance.


Reviews
There are no reviews yet.