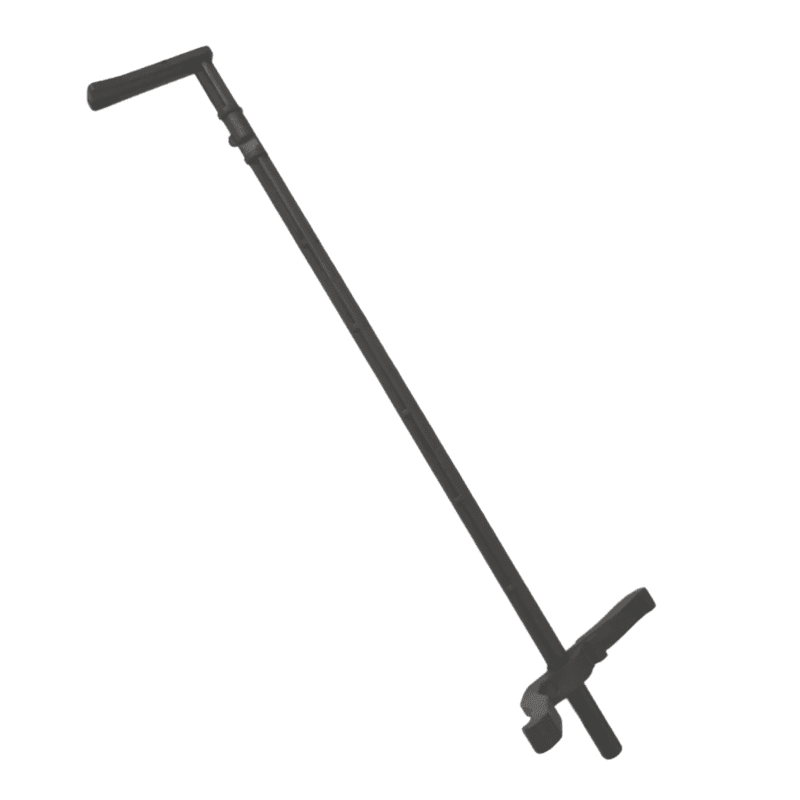
Placing the fuser fixing lever on a Kyocera M2040, 2540, or 2735 printer is a subtle job, as it includes working with the fuser unit, which could be hot and delicate. Here’s a step-by-step manual to change the fuser fixing lever:Turn Off and Cool Down the Printer:
Power off the printer and remove it from the power source.
Allow the printer to cool down for at least 30 minutes before holding the fuser unit, as it may be very hot.
Take off the Printer’s Back Cover: Discover the back panel of the printer, which provides access to the fuser unit.
Take off the back cover by releasing the bars or screws that keep it in position.
Pull off the Fuser Unit:
Track down the fuser assembly.
Remove the clips that keep the fuser in position.
Mindfully take out the fuser unit, making sure not to touch the hot rollers instantly.
Pull off the screws, the clips holding the lever in place.
Softly take off the damaged lever.
Place the New Fuser Fixing Lever:
Place the new fuser fixing lever and fix it with the attachment points where the old lever was placed.
Fix it in place with screws or clips, making sure it moves freely and bolts the fuser unit completely.
Reconnect the Fuser Unit:
Mindfully put the fuser unit back into the printer.
Fix the fuser with the connection points and fit it with the screws or clips that were taken off earlier.
Shut the Back Cover:
Shut the back cover of the printer, ensuring it clicks or bolts into place.
Switch On the Printer:
Connect the printer back to the power source and power it on.
Check the Printer:
Make a test print to make sure the fuser fixing lever is working properly and that the printer is running without any problems.
We hope this information helps with your product build. For more details, feel free to check out our blogs. You’ll also find troubleshooting steps for PC issues, described in simple and easy-to-follow instructions, allowing anyone to fix the problems themselves. We also release troubleshooting newsletters, which provide additional guidance for resolving issues. We’re glad to be helping people with real solutions to their challenges.
Shop today and use your printer effortlessly.


Reviews
There are no reviews yet.