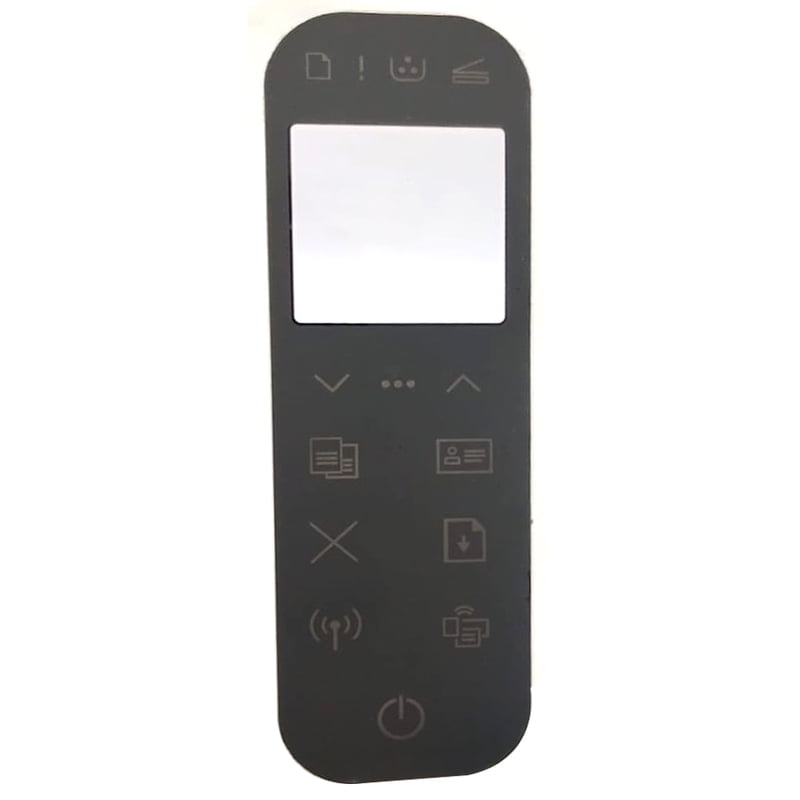
How to Change the Control Panel Sticker on MFP 1200 Printer
Replacing the Control Panel sticker on your MFP 1200 Printer may seem challenging; however, this step-by-step guide will simplify the process. Here’s what you need and how to do it.
Materials Needed
Replacement Sticker: Ensure you have the correct sticker for the MFP 1200.
Small Tool: To gently remove the old sticker without damaging the surface.
In addition, use a washed cloth for cleaning the area before applying the new sticker.
Alcohol: To remove adhesive residue and clean the surface.
Steps to Change the Control Panel Sticker
Switch Off the Printer
First, make sure the printer is turned off and unplugged to avoid any electrical hazards.
Clean the Area
Next, use a clean cloth and alcohol to wipe down the control panel. This removes old adhesive and ensures the new sticker adheres properly.
Remove the Old Sticker
Then, carefully use tweezers or a small tool to peel off the old sticker. Be gentle to avoid scratching the control panel.
Remove Residue
If necessary, clean off any remaining adhesive using alcohol and a cloth.
Prepare the New Sticker
Afterward, ensure the new sticker matches the size and layout of the control panel.
Apply the New Sticker
Once ready, peel the backing off the new sticker, line it up with the control panel, and press it down gently, smoothing out any bubbles. Use a cloth to press firmly and evenly.
Turn On the Printer
Finally, reconnect and power on the printer to ensure everything works smoothly.
By following these steps, you should be able to replace the Control Panel sticker on your MFP 1200 Printer successfully.
For more troubleshooting tips, visit our blogs, and don’t forget to subscribe to our newsletter for ongoing support.


Reviews
There are no reviews yet.