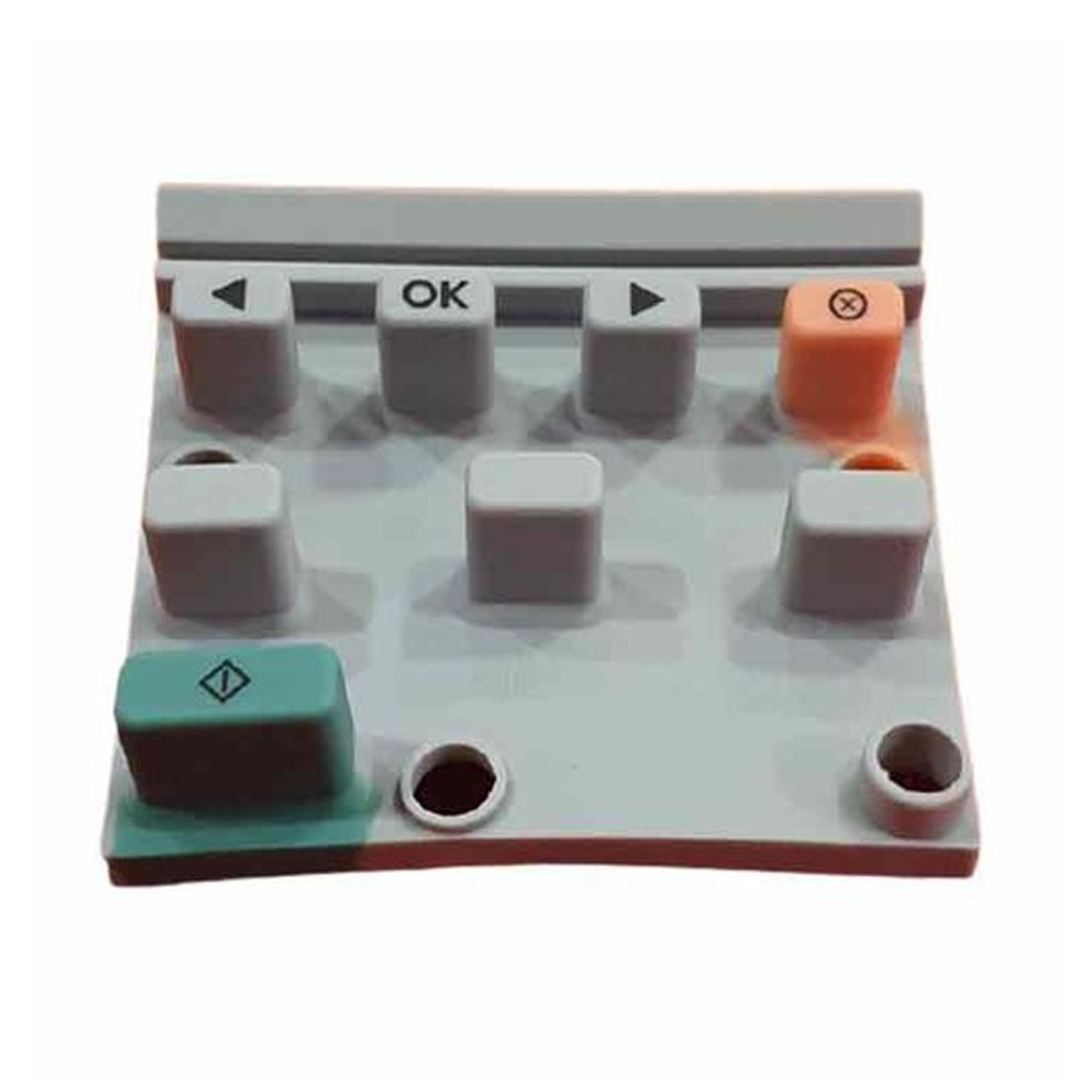
Replacing the Control Panel Keypad (Silicon Rubber) For HP LaserJet M1005
Replacing the Control Panel Keypad (Silicon Rubber) For HP LaserJet M1005 requires careful handling and attention to detail. Since the Control Panel Keypad holds the printer’s buttons and display, it can become damaged or unresponsive, necessitating a replacement. Therefore, follow this step-by-step guide to successfully complete the procedure:
Turn Off and Disconnect
First and foremost, turn off the printer and disconnect it from the power source. This crucial step ensures your safety and prevents any electrical hazards while you work on the device. Additionally, this precaution helps protect both you and the printer.
Prepare Your Workspace
Next, locate a clean, flat surface to work on. Additionally, gather the necessary tools, including a screwdriver and a replacement Control Panel Keypad (Silicon Rubber) specifically designed for the HP LaserJet M1005. Having everything ready will not only streamline the process but also minimize interruptions.
Open the Printer
Now, cautiously remove the screws or clips that secure the printer’s outer casing. Typically, you will find these around the sides and back of the printer. Once you identify the screws, gently lift off the casing to expose the internal parts.
Locate the Control Panel Keypad
The Control Panel Keypad usually resides at the front of the printer. Therefore, carefully find the panel along with its connecting cables. You might also discover additional screws or clips securing the panel, which you will need to address.
Remove the Old Control Panel Keypad
Next, disconnect any cables attached to the Control Panel Keypad. These cables are often ribbon cables or connectors. After disconnecting them, you can proceed to remove the panel from its mounting place.
Install the New Control Panel Keypad
Once you have successfully removed the old keypad, install the new Control Panel Keypad in the designated section. Be sure to fasten the cables securely, ensuring they connect properly. Finally, secure the new panel with screws or clips as needed to ensure stability.
Reassemble the Printer
After installing the new keypad, reattach the printer’s outer casing and fix it with screws or clips. At this point, take a moment to double-check that everything aligns correctly and fits snugly, as this will prevent future issues.
Examine the Printer
Now, reconnect the printer to the power source and turn it on. Thoroughly check the new Control Panel Keypad to ensure it works correctly by testing the buttons and display for proper operation. If everything functions well, you can proceed with confidence.
Conclusion
By following these steps diligently, you can successfully replace the Control Panel Keypad on your HP LaserJet M1005, ultimately restoring its functionality.
For more troubleshooting tips, visit our blogs, and don’t forget to subscribe to our newsletter for ongoing support.


Reviews
There are no reviews yet.