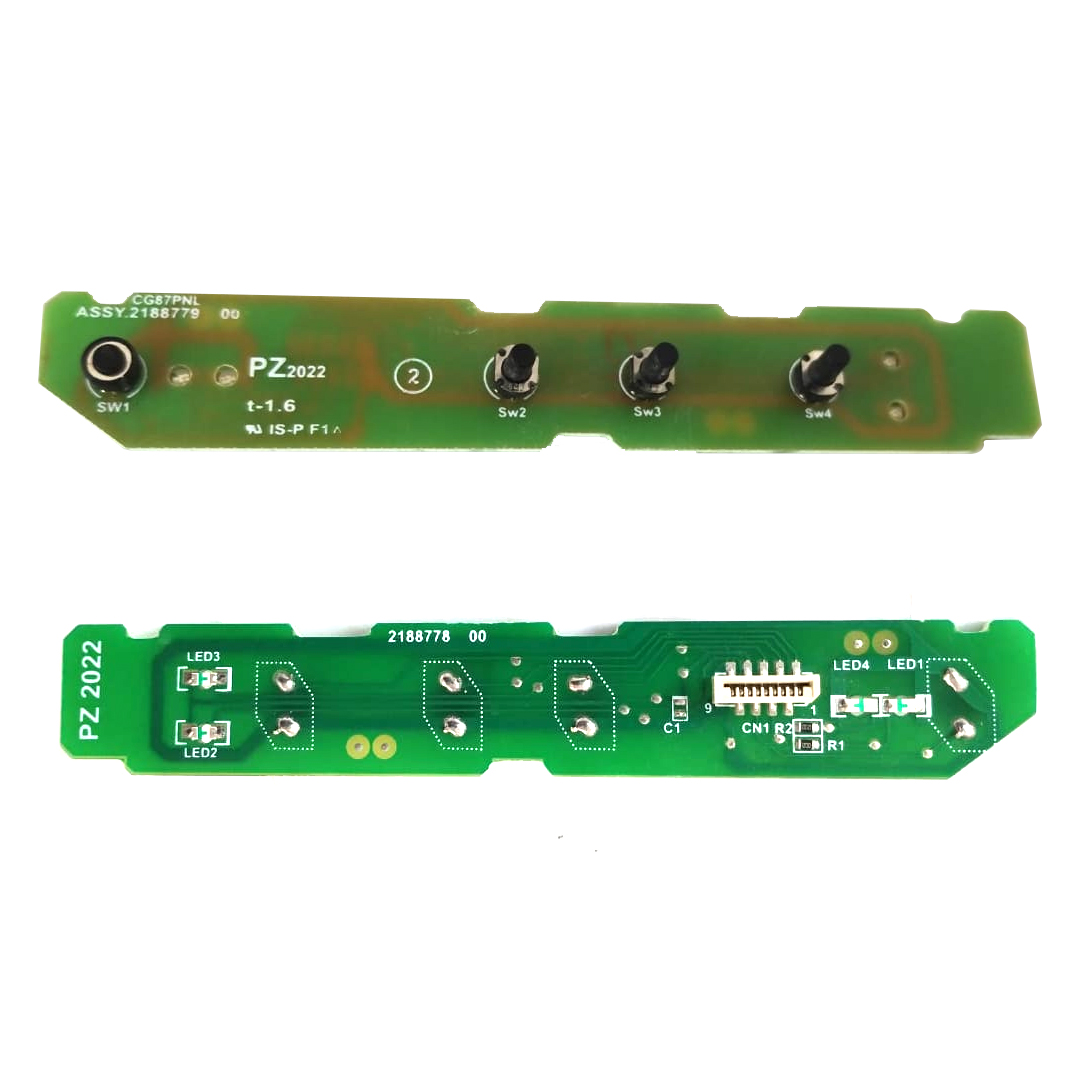
Replacing the Control Panel on the Epson L3110 Printer
Replacing the Control Panel on your Epson L3110 printer requires careful handling and attention to detail. Since the Control Panel holds the printer’s buttons and display, it can easily become damaged or unresponsive, making replacement necessary.
Comprehensive Step-by-Step Guide for Replacing the Control Panel on the Epson L3110 Printer
Turn Off the Epson L3110 Printer
First, turn off the printer and disconnect it from the power source. This action ensures safety and prevents any electrical hazards while you work on the device.
Prepare Your Workspace for the Control Panel Replacement
Next, locate a clean, flat surface to work on. Additionally, gather the necessary tools, including a screwdriver and a replacement Control Panel specifically designed for the Epson L3110.
Access the Control Panel of the Epson L3110
Cautiously remove the screws or clips that secure the printer’s outer casing. You will typically find these around the sides and back of the printer. Then, gently lift off the casing to expose the internal parts. The Control Panel usually resides at the front of the printer, so locate the panel and its connecting cables. You might also find additional screws or clips securing the panel.
Disconnect the Old Control Panel from the Epson Printer
Carefully disconnect any cables attached to the Control Panel, including ribbon cables or connectors. Once you disconnect them, remove the panel from its mounting place. Then, install the new Control Panel in the designated section. After that, reconnect the cables and ensure they fit securely. Finally, fasten the new panel with screws or clips as needed.
Reassemble the Epson L3110 Printer
Reattach the printer’s outer casing and secure it using the screws or clips. Make sure to double-check that all components align correctly and fit snugly. After that, reconnect the printer to the power source and power it on. Finally, test the new Control Panel to verify that it functions properly by checking the buttons and display for accurate operation.
By following these steps, you can successfully change the Control Panel on your Epson printer, restoring its functionality.
For more troubleshooting tips, visit our blogs, and don’t forget to subscribe to our newsletter for ongoing support.


Reviews
There are no reviews yet.