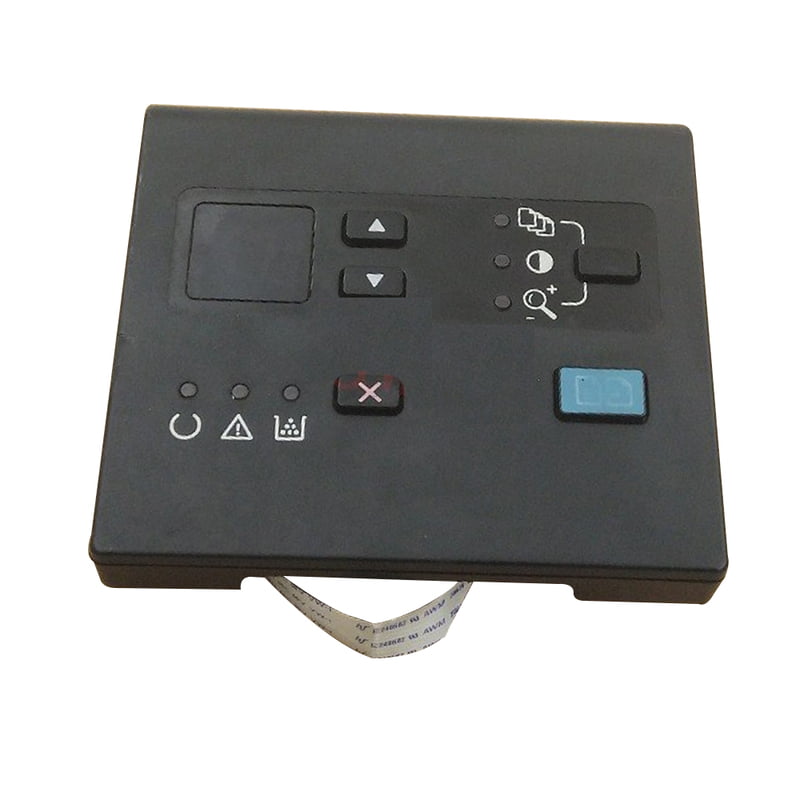
Control Panel Assembly for HP LaserJet M1136
The HP LaserJet Pro M1136 features a control panel that helps manage operations without the need for a computer. This guide will carefully walk you through how to safely remove the Control Panel Assembly and its sub-assemblies.
Materials Needed
Screwdriver
Flat-head screwdriver
Clean workspace
How to Remove the Control Panel and Sub-Assemblies
Open the Printer’s Top Panel
First, raise the printer’s top panel to access the internal components.
Remove the First Screw
Next, locate and carefully remove the screw securing the control panel, which is usually positioned near the top.
Loosen the Tabs
Then, use a flat-head screwdriver to gently loosen the tabs holding the control panel in place. Be sure to handle this carefully to avoid damaging the printer.
Unfasten the Control Panel
Once the tabs are loosened, gently pull the control panel out of the printer.
Disconnect the Wiring
Afterward, find and disconnect the wire attached to the control panel. Additionally, make sure to follow its routing carefully to ensure you disconnect the correct cable.
Remove Additional Screws
Subsequently, remove any remaining screws that secure the control panel’s sub-assembly in place.
Disconnect the Control Panel Front
After all the screws have been removed, carefully take off the front part of the control panel.
Remove Cables and Tape
Finally, disconnect any additional cables or tape securing the sub-assemblies to fully remove the components.
Reassembly
To reassemble, simply reverse the steps. Additionally, be sure to handle all parts with care to prevent any damage.
Further Support
For additional tips or troubleshooting, visit our blog or subscribe to our newsletters. We are here to provide practical solutions to help you manage your printer more efficiently.
For more troubleshooting tips, visit our blogs, and do not forget to subscribe to our newsletter for ongoing support.


Reviews
There are no reviews yet.