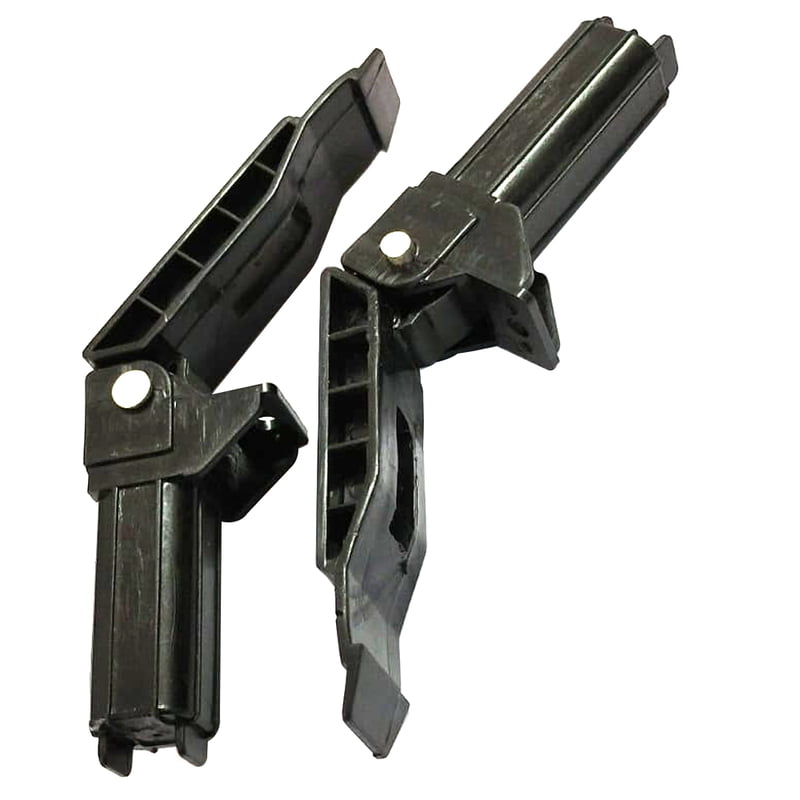
Replacing the ADF (Automatic Document Feeder) hinge on Canon MF4412, MF4410, MF4450, MF4750, D520, or D560 printers is a manageable task. Here’s a step-by-step guide to help you through the process:
Tools Needed
Phillips screwdriver
Flathead screwdriver (optional)
Replacement ADF hinge
Steps to Replace the ADF Hinge
Power Off the Printer:
Turn off the printer and unplug it from the power source to ensure safety.
Open the ADF Cover:
Gently lift the ADF cover to access the hinge area. You may need to hold it open with one hand while you work.
Remove the Old Hinge:
Locate the screws securing the ADF hinge. Use the Phillips screwdriver to remove these screws.
Once the screws are removed, carefully detach the old hinge from the ADF assembly. If it’s stuck, use a flathead screwdriver to gently pry it loose.
Install the New Hinge:
Align the new ADF hinge with the mounting points on the printer.
Secure it in place by tightening the screws you removed earlier.
Test the ADF Functionality:
Close the ADF cover and ensure it opens and closes smoothly.
Check for any obstructions and ensure the hinge operates correctly.
Reassemble and Test the Printer:
Plug the printer back in and power it on. Run a test scan or copy to confirm that the ADF functions properly.
Tips Ensure that the replacement hinge is compatible with your specific printer model.
Handle all components carefully to avoid damaging delicate parts.
If you encounter difficulties, consult the printer’s service manual for additional guidance.
By following these steps, you should be able to replace the ADF hinge on your Canon printer successfully. If you have any questions or need further assistance, feel free to ask!


Reviews
There are no reviews yet.